Inspect and define scope
Record paint condition, prior repair, requested panels, exclusions and the exact film product.
Inspection · Patterns · Installation · QC
A clean result starts before the film touches paint: scope, surface condition, preparation and pattern planning all matter.
Coverage and decision points
The exact process varies by vehicle, film system and coverage, but quality control should never be skipped.
Record paint condition, prior repair, requested panels, exclusions and the exact film product.
Wash, decontaminate, prepare patterns and position film with controlled solution and clean tools.
Set edges, inspect alignment and contamination, document care instructions and arrange follow-up if needed.
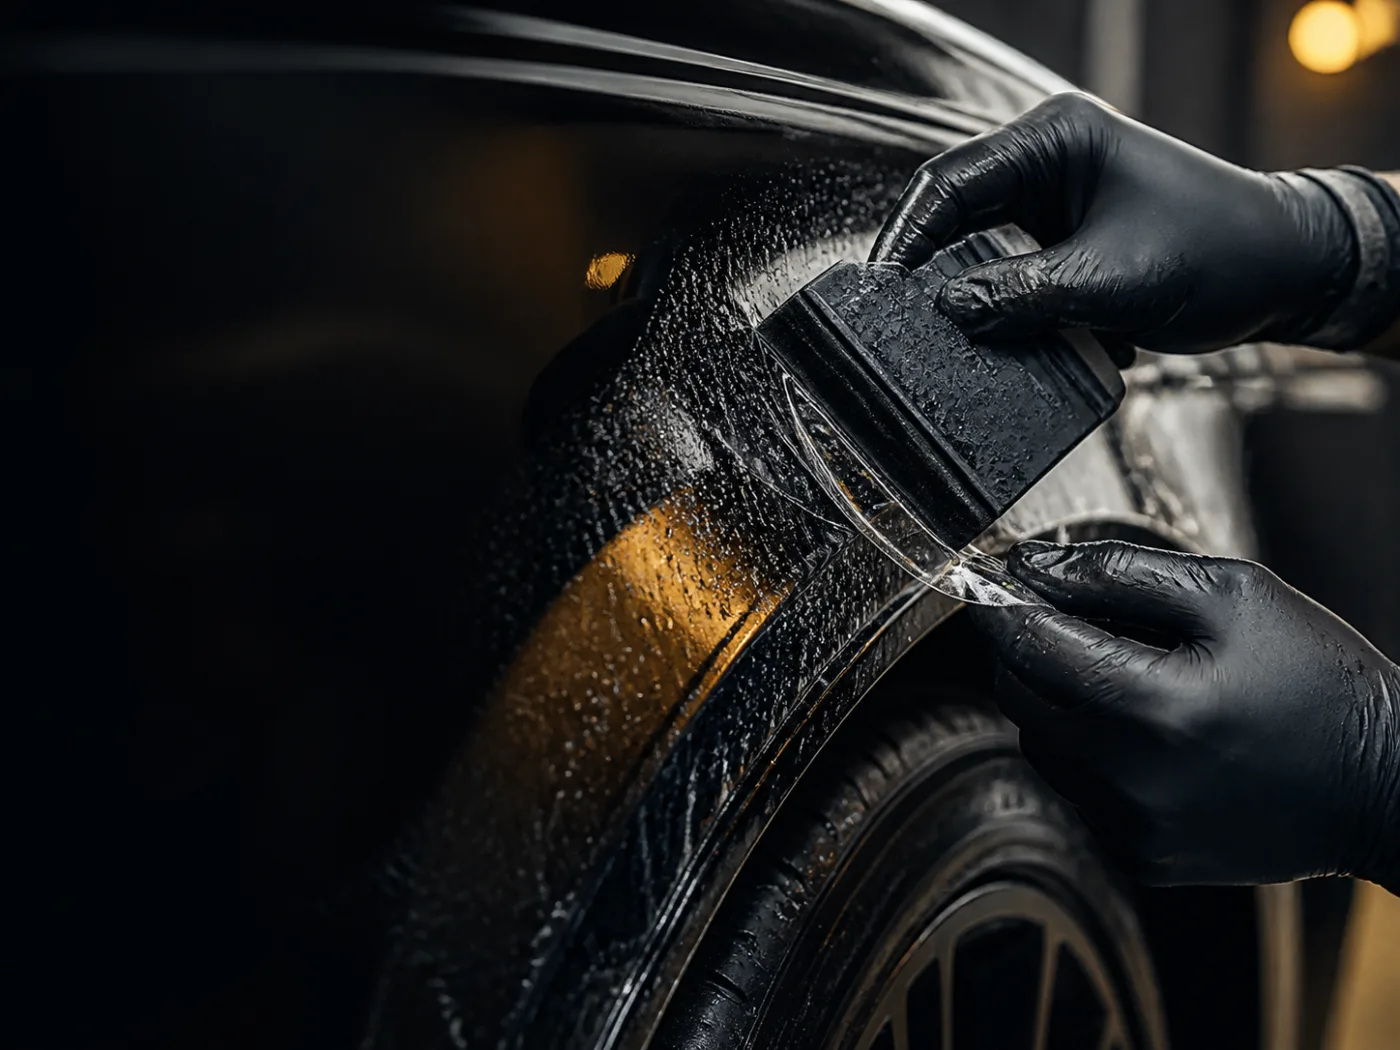
Real vehicle context
Paint, glass, trim and existing material can change the safe scope. Photos help with planning, but the written estimate controls the exact product, included areas and warranty terms.
Illustrative process visual, not a photograph of a specific ProFilm customer installation.
The installer confirms the vehicle, panels and finish, then checks for chips, scratches, touch-up paint, contamination, repainted areas and old film. Transparent film does not hide defects. The inspection protects both the customer and installer by documenting the starting condition and any limits on edge wrapping or adhesion.
The vehicle is washed and the target panels are decontaminated with paint-safe methods. Residue around badges, seams and edges must be addressed because debris can become visible under clear film. Any paint correction or repair should be completed and fully ready before installation.
Computer-cut patterns can reduce unnecessary cutting on the vehicle and provide a repeatable starting shape. The installer still evaluates fit, edge strategy, sensors, badges, trim and panel geometry. Some patterns or edges may need controlled adjustment based on the exact model and scope.
The film is positioned using installation solution, then moisture and air are worked out with clean tools. Stretch and alignment are controlled to avoid distortion or unnecessary tension. Where practical and safe, selected edges may be wrapped; other edges remain visible by design and should be explained in the scope.
The installer checks alignment, edges, contamination and finish under appropriate lighting. Initial moisture or settling characteristics are explained, along with first-wash timing and care. The customer receives the exact product and warranty information that applies to the installation.
Frequently asked questions
Computer-cut patterns are commonly used to reduce on-vehicle cutting. Any necessary adjustment should be performed with controlled professional methods and explained for the scope.
PPF is transparent, so existing defects can remain visible. Correction or repair may be recommended before installation depending on the owner’s goals and paint condition.
Not always. Vehicle design, panel access, film behavior and safe disassembly determine which edges can be wrapped. The estimate should explain the edge strategy.
Follow the stated cure and first-wash instructions, avoid disturbing edges and contact the installer if lifting, contamination or an impact needs inspection.
Related ProFilm pages
Fort Lauderdale · By appointment
Send the vehicle year, make and model plus the coverage you are considering. ProFilm confirms product, scope, price and applicable warranty terms before the appointment.